

Buildings: Walls, Doors & Roofs
Draw walls, cut in doors and windows, then put a roof on top. It all lives in the Buildings tool.
- Click Buildings in the bottom toolbar.
- Click the ground to drop corners. Double click to finish.
- Open Doors or Windows, pick a style, click a wall.
- Open Roofs and drag a rectangle over your walls.
Set up your walls
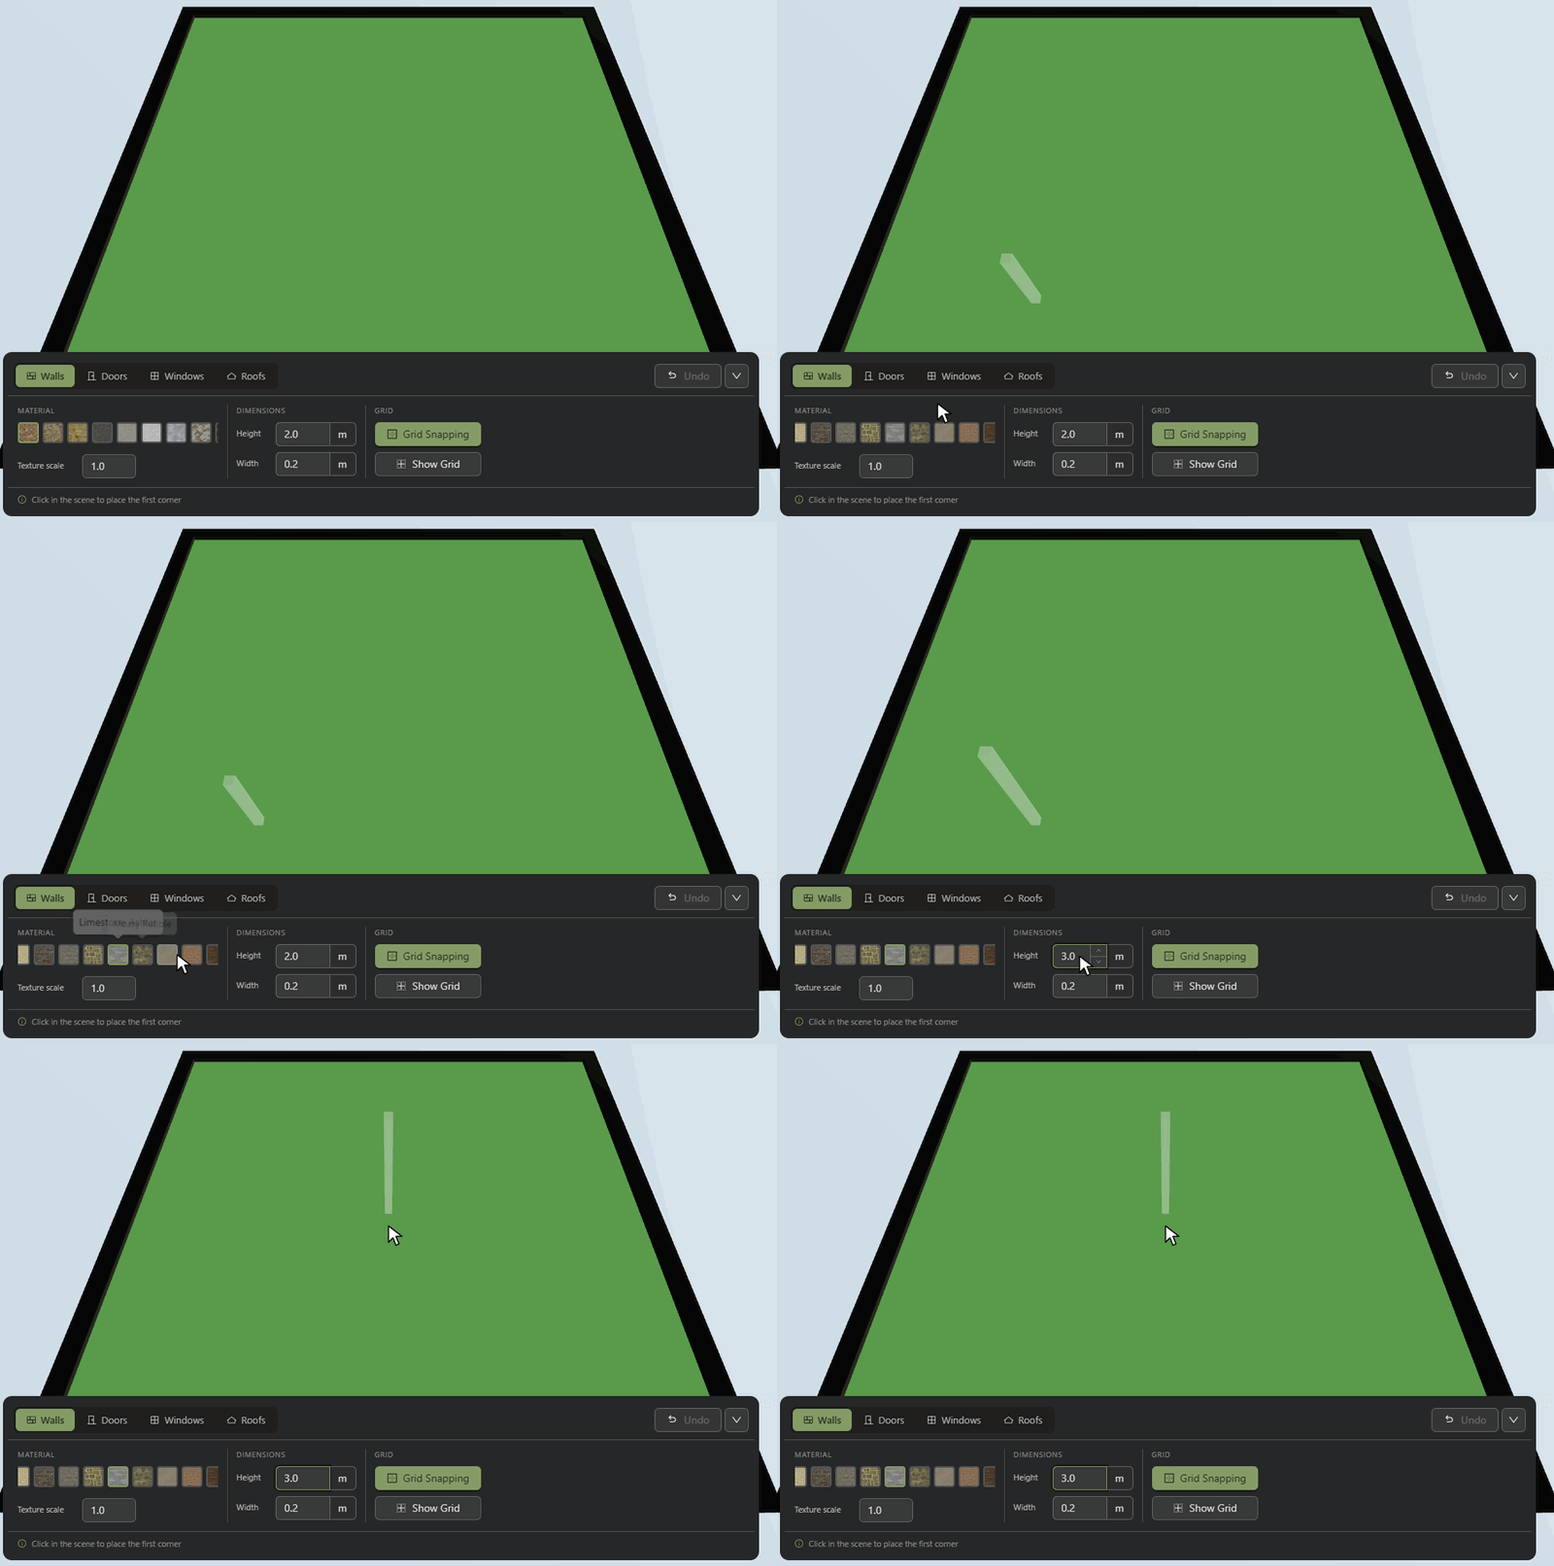
- Material: click a swatch.
- Height and Width: type a size in metres.
- Texture scale: smaller numbers give smaller bricks.
Draw a wall
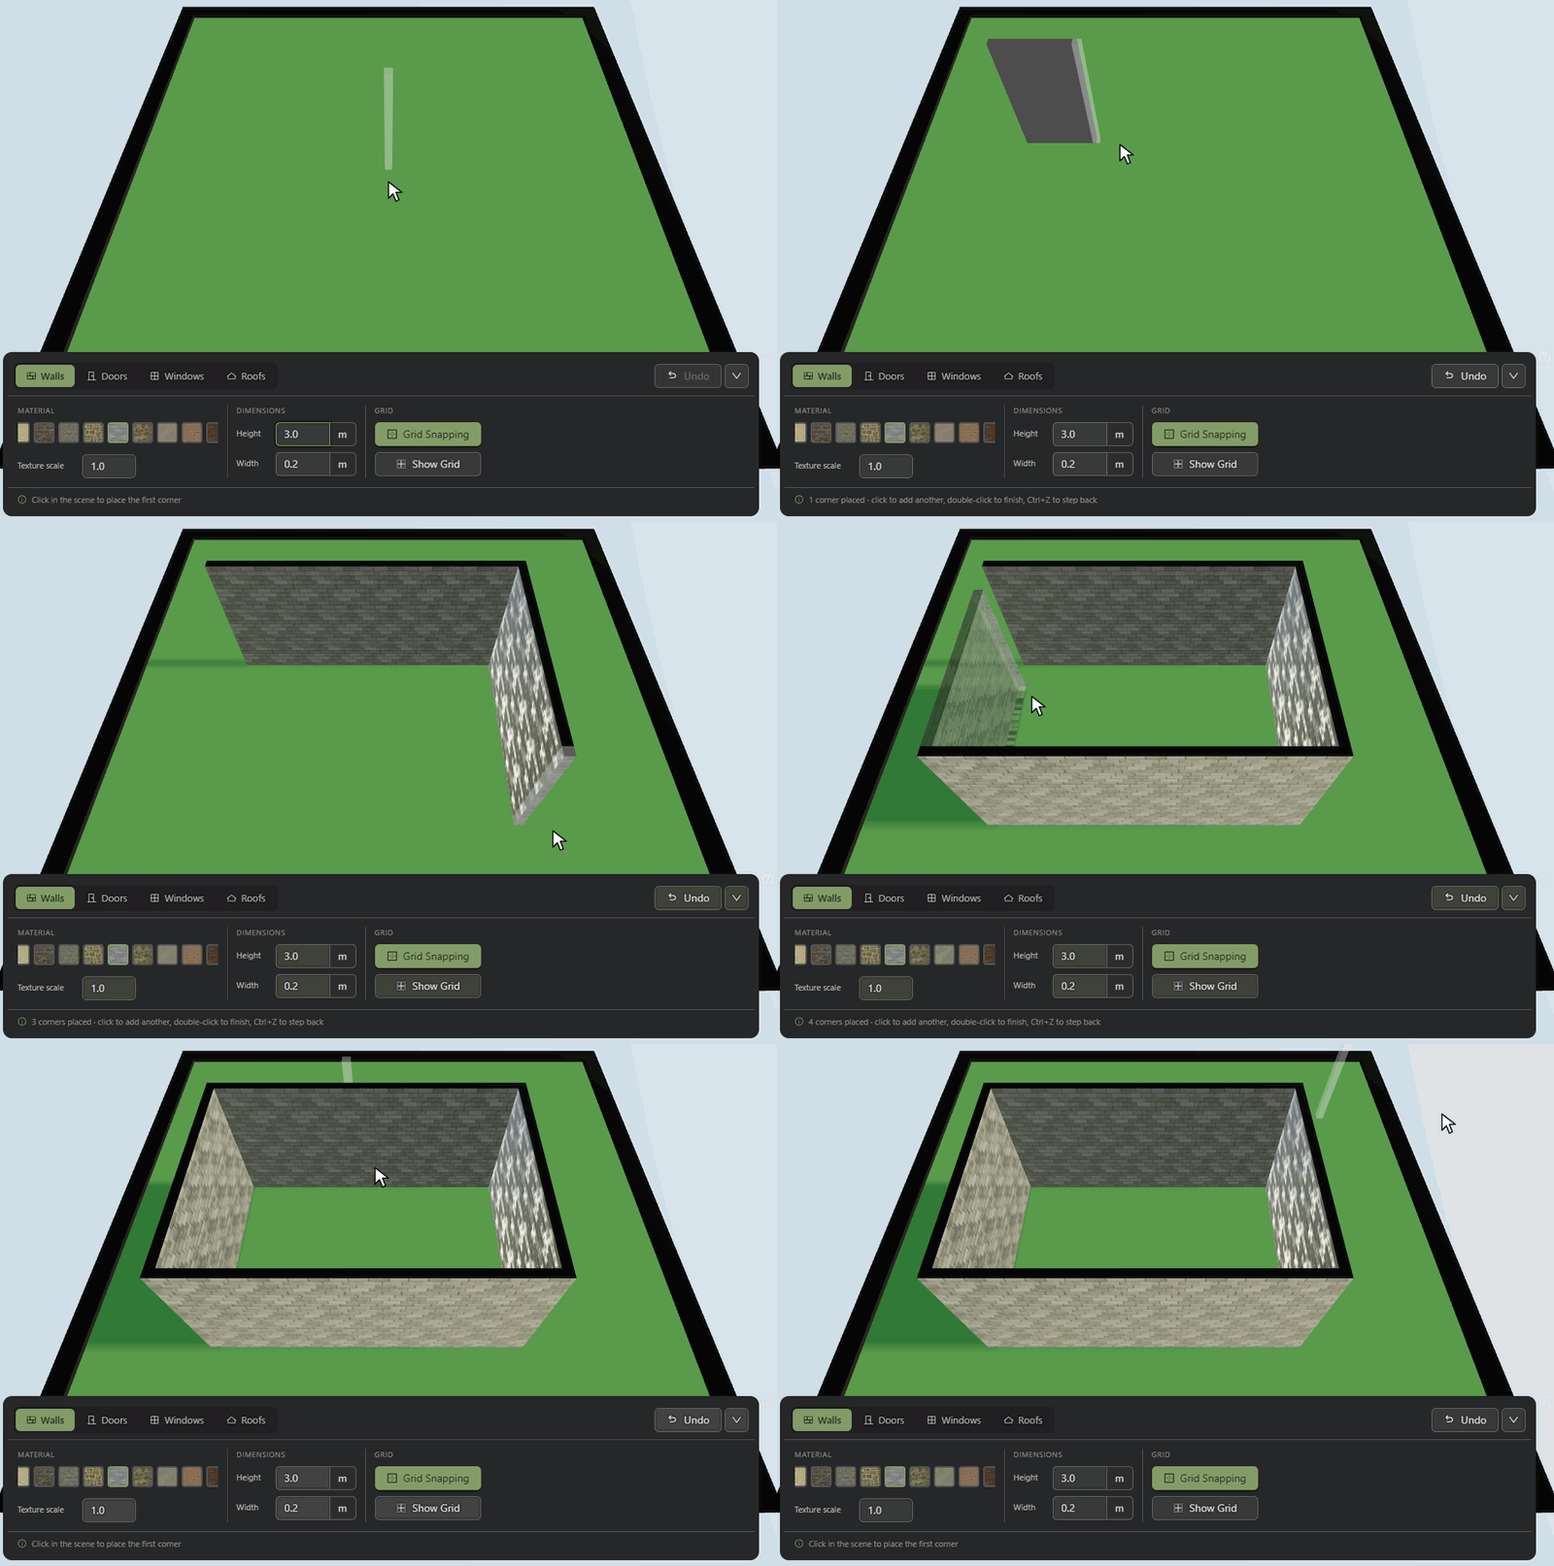
- Click the ground for each corner.
- Double click or right click to finish.
- Ctrl+Z steps back one corner.
- Keep Grid Snapping on for square rooms.
Add a door
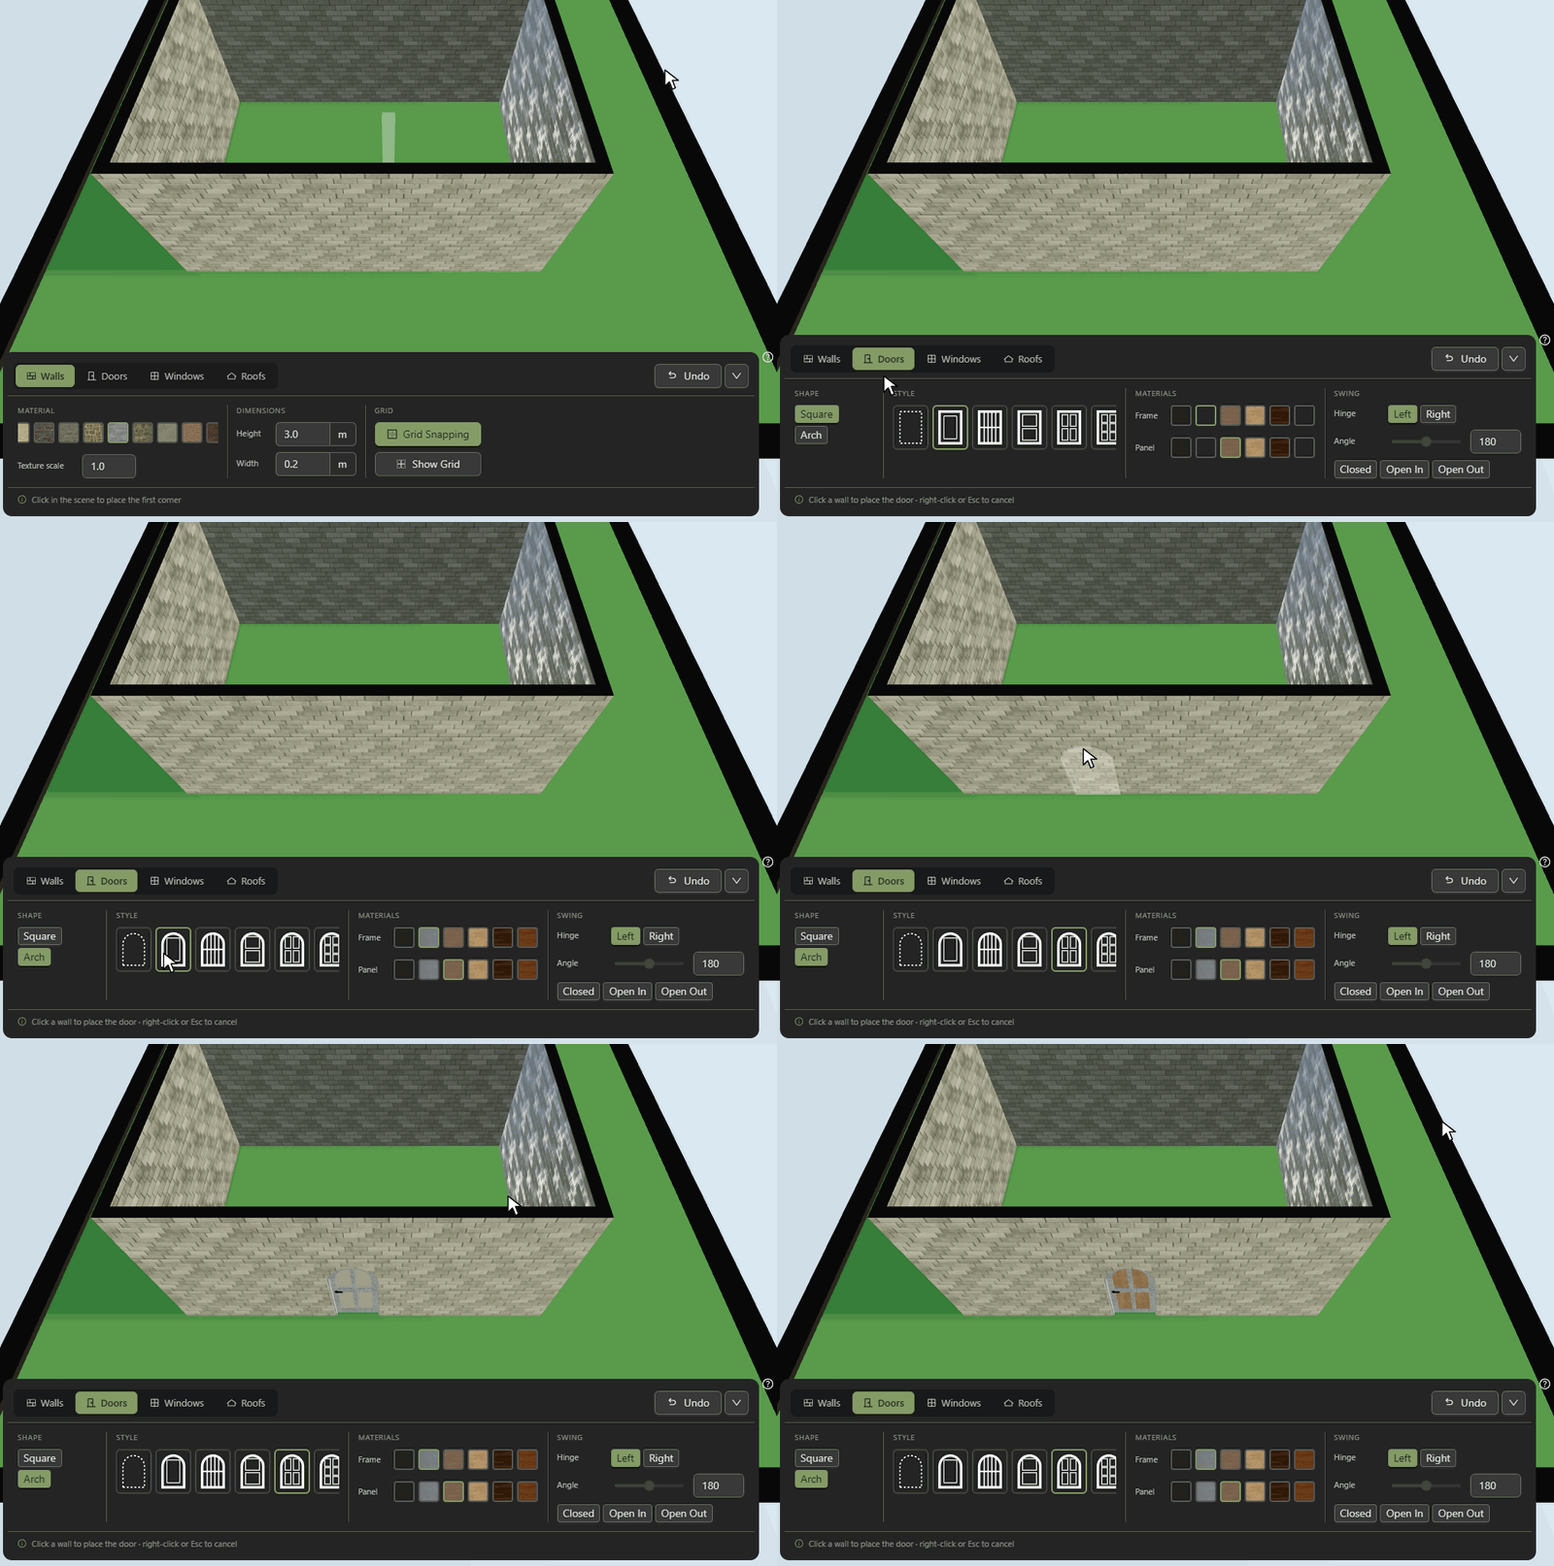
- Shape: square or arched.
- Style: from an open doorway to panel, barn, dutch or gate doors.
- Set the materials, hinge side and how far it is open.
- Click a wall to place. Keep clicking to add more.
Add windows
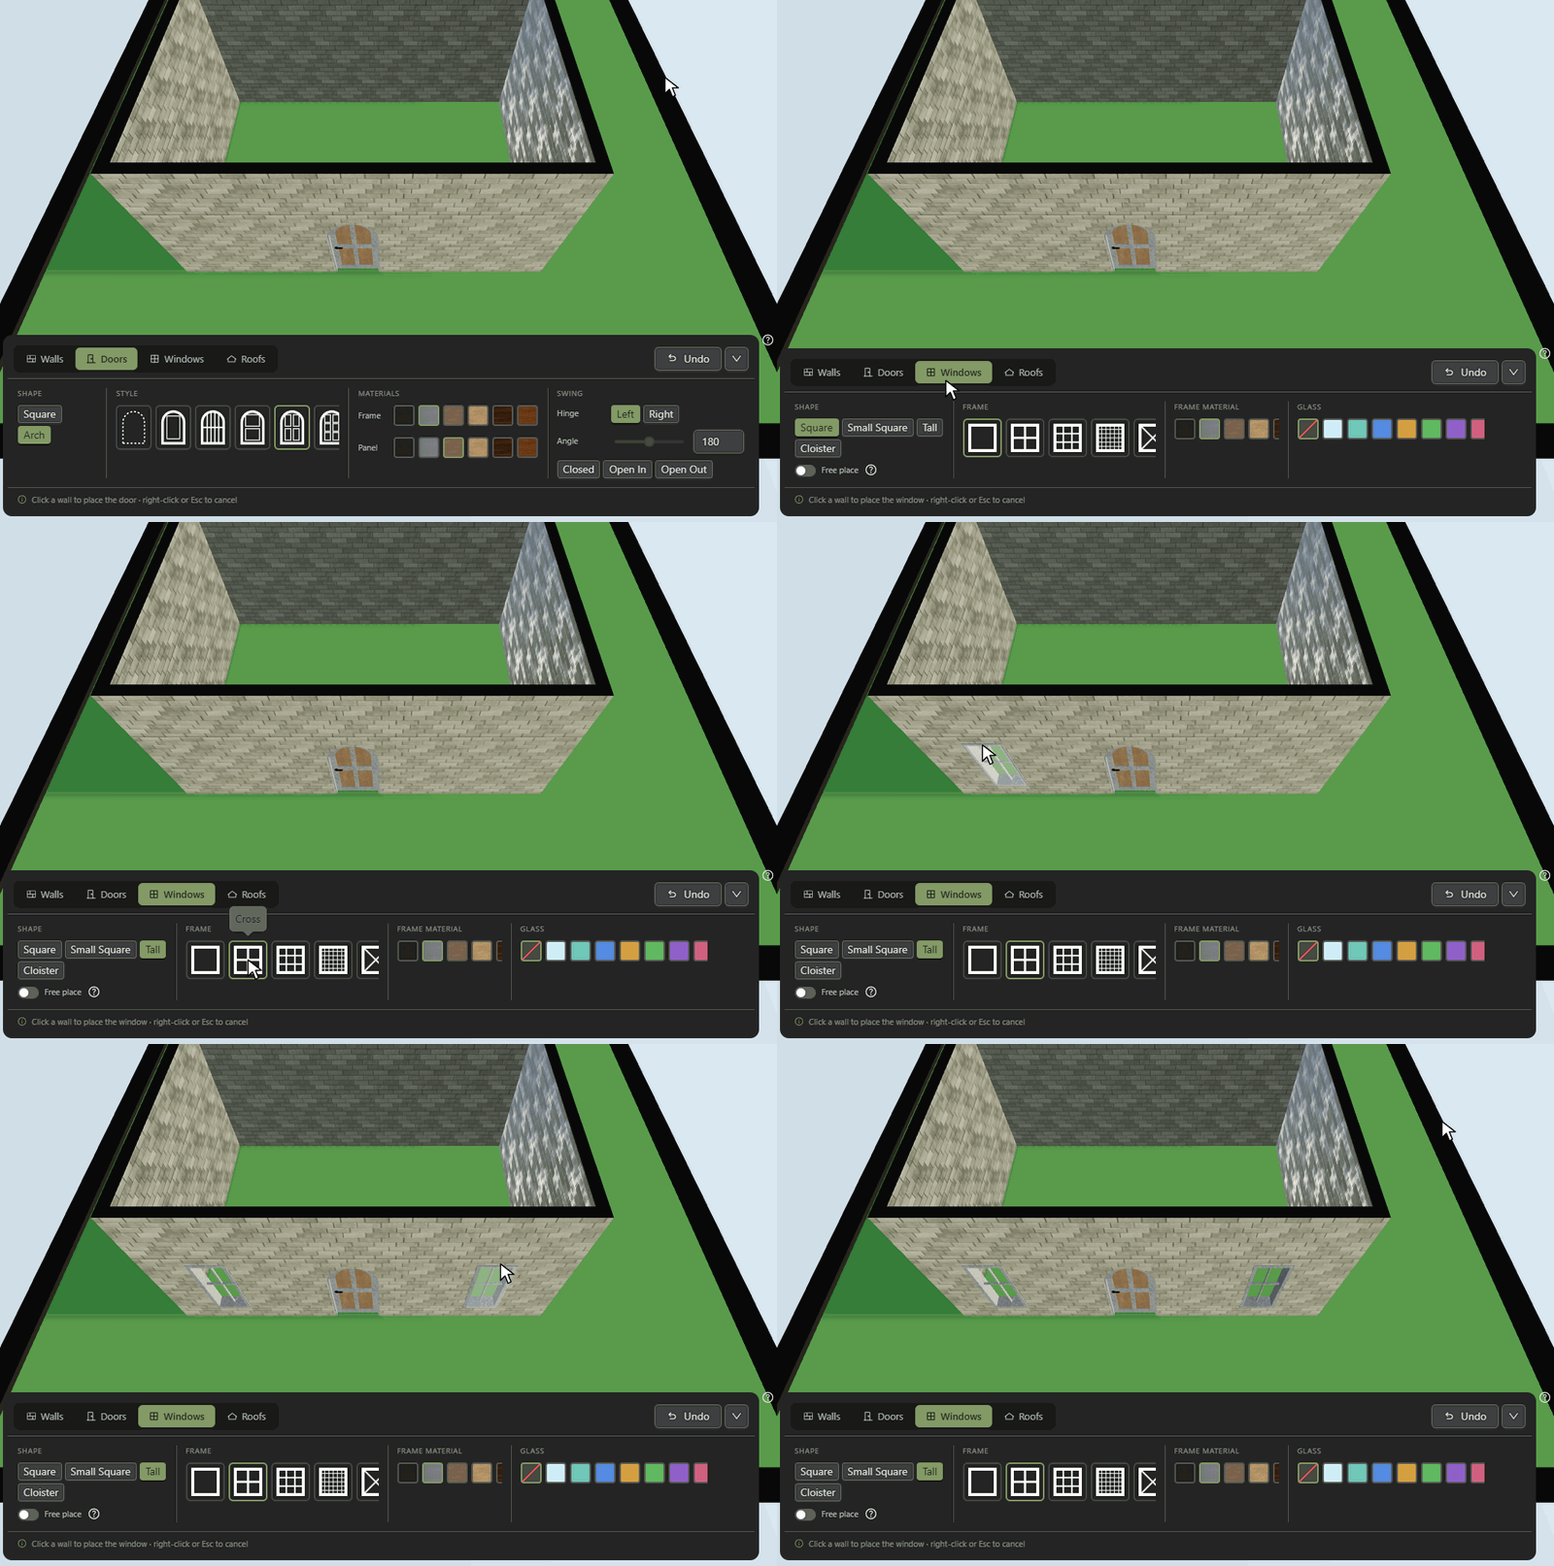
- Shape: square, small square, tall or cloister.
- Frame: cross, grate, colonial and more.
- Free place puts the window at the height you click.
Glass and gothic windows
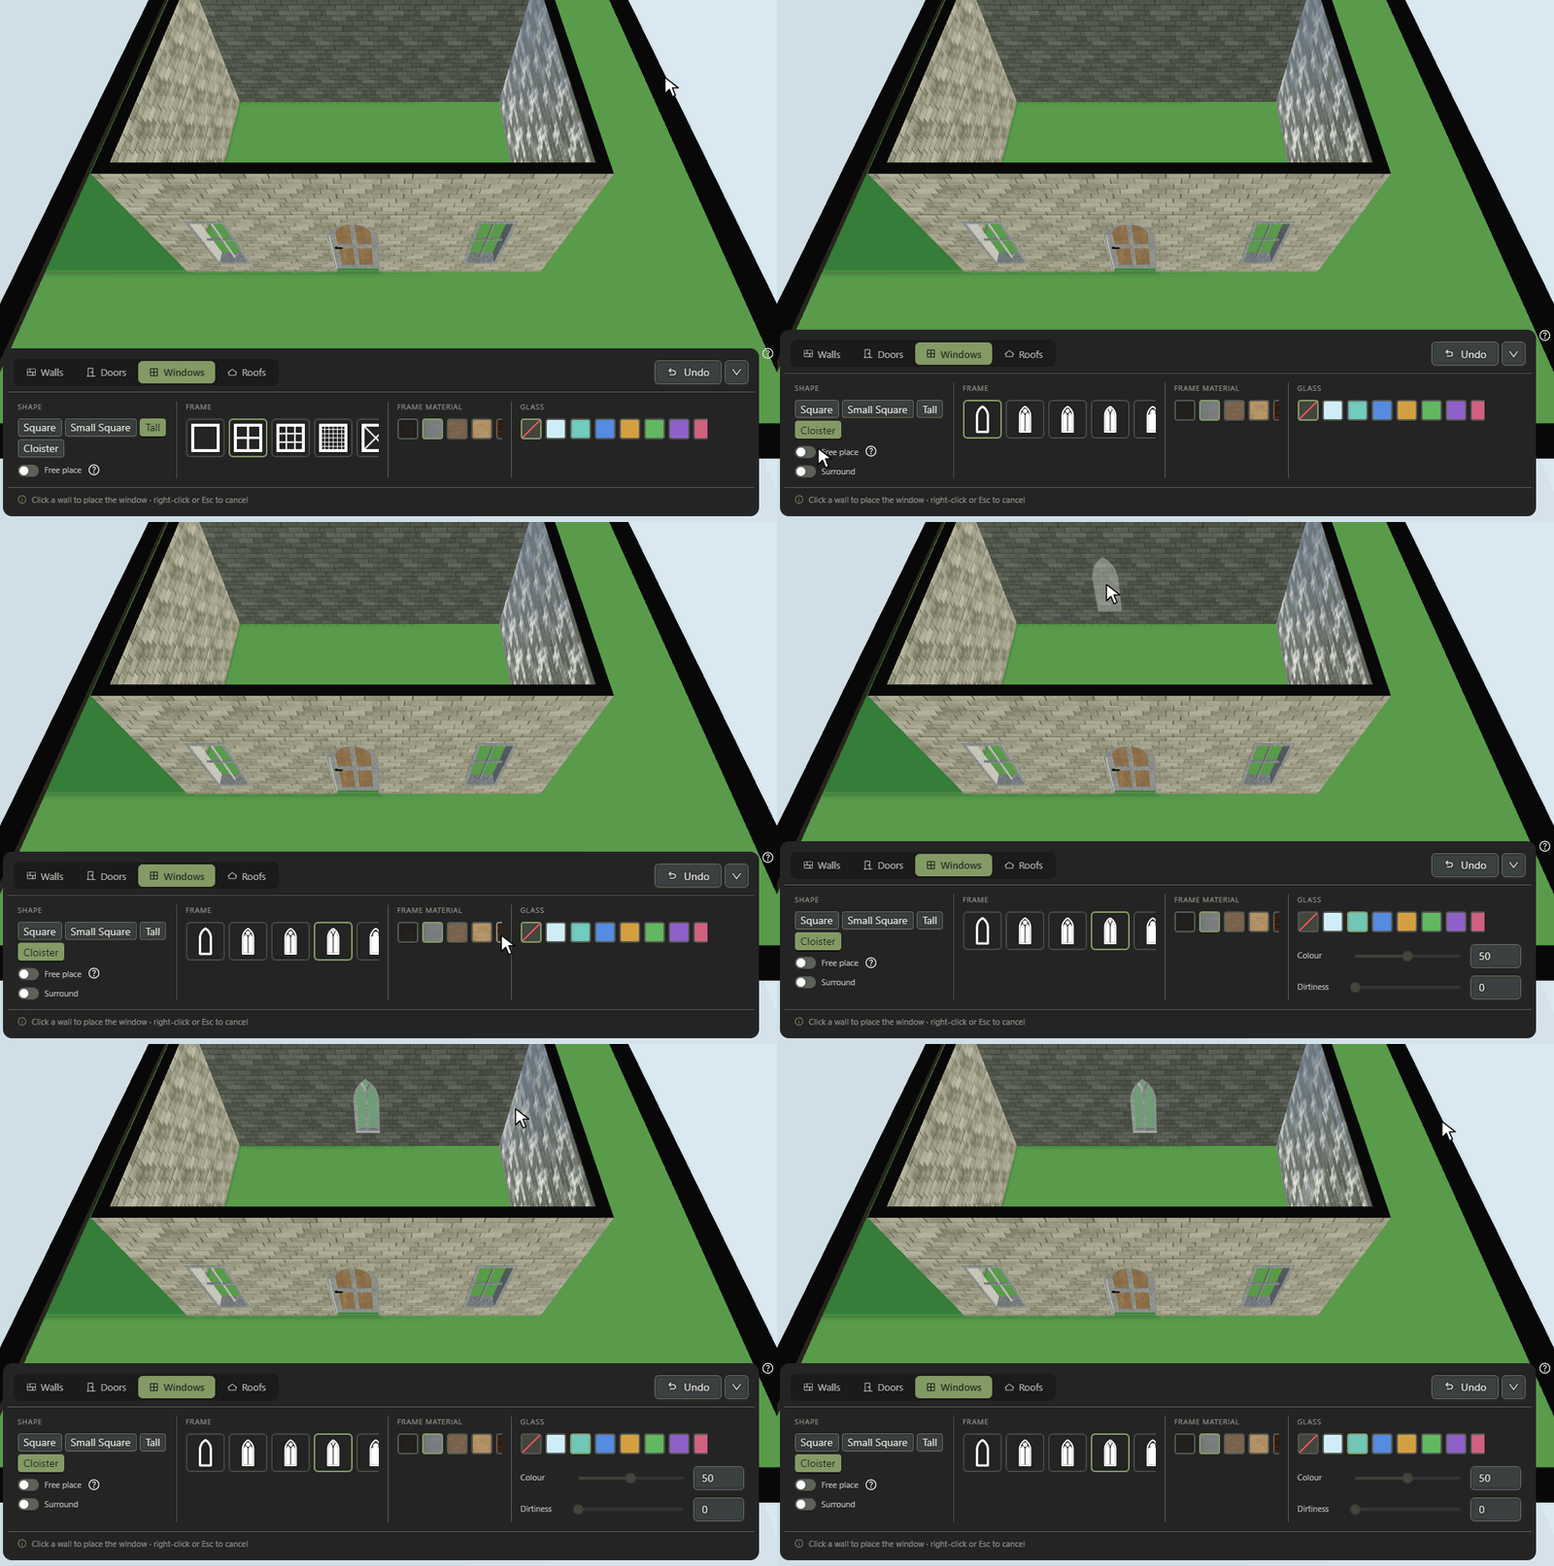
- Cloister gives a pointed arch with tracery frames.
- Pick a glass colour, or the crossed out swatch for none.
- Colour and Dirtiness sliders age the glass.
Add a roof
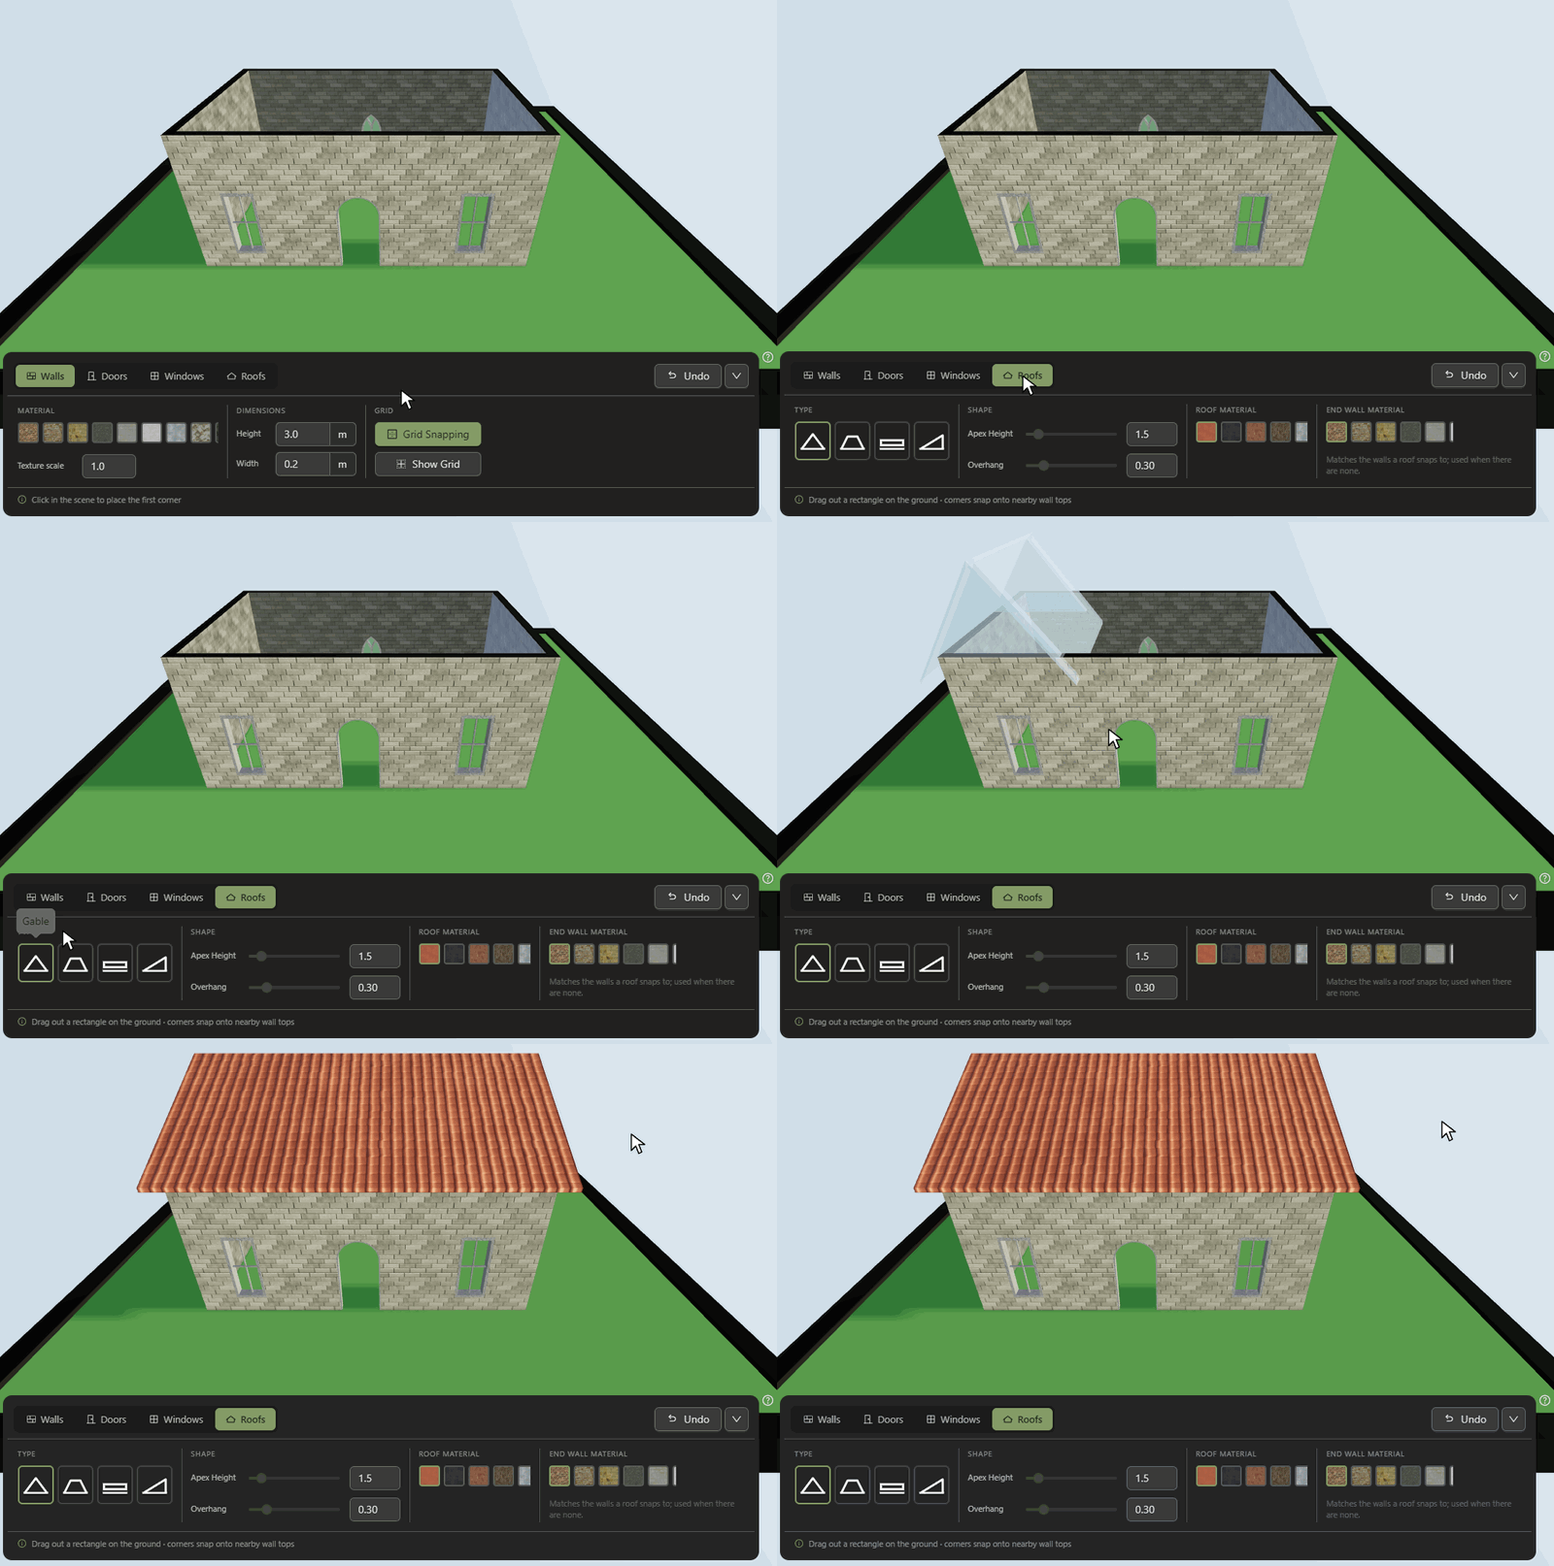
- Open Roofs and drag a rectangle over the walls.
- Corners snap onto the walls, and the ends fill in to match.
- Apex Height sets the pitch. Overhang sets the eaves.
Roof types
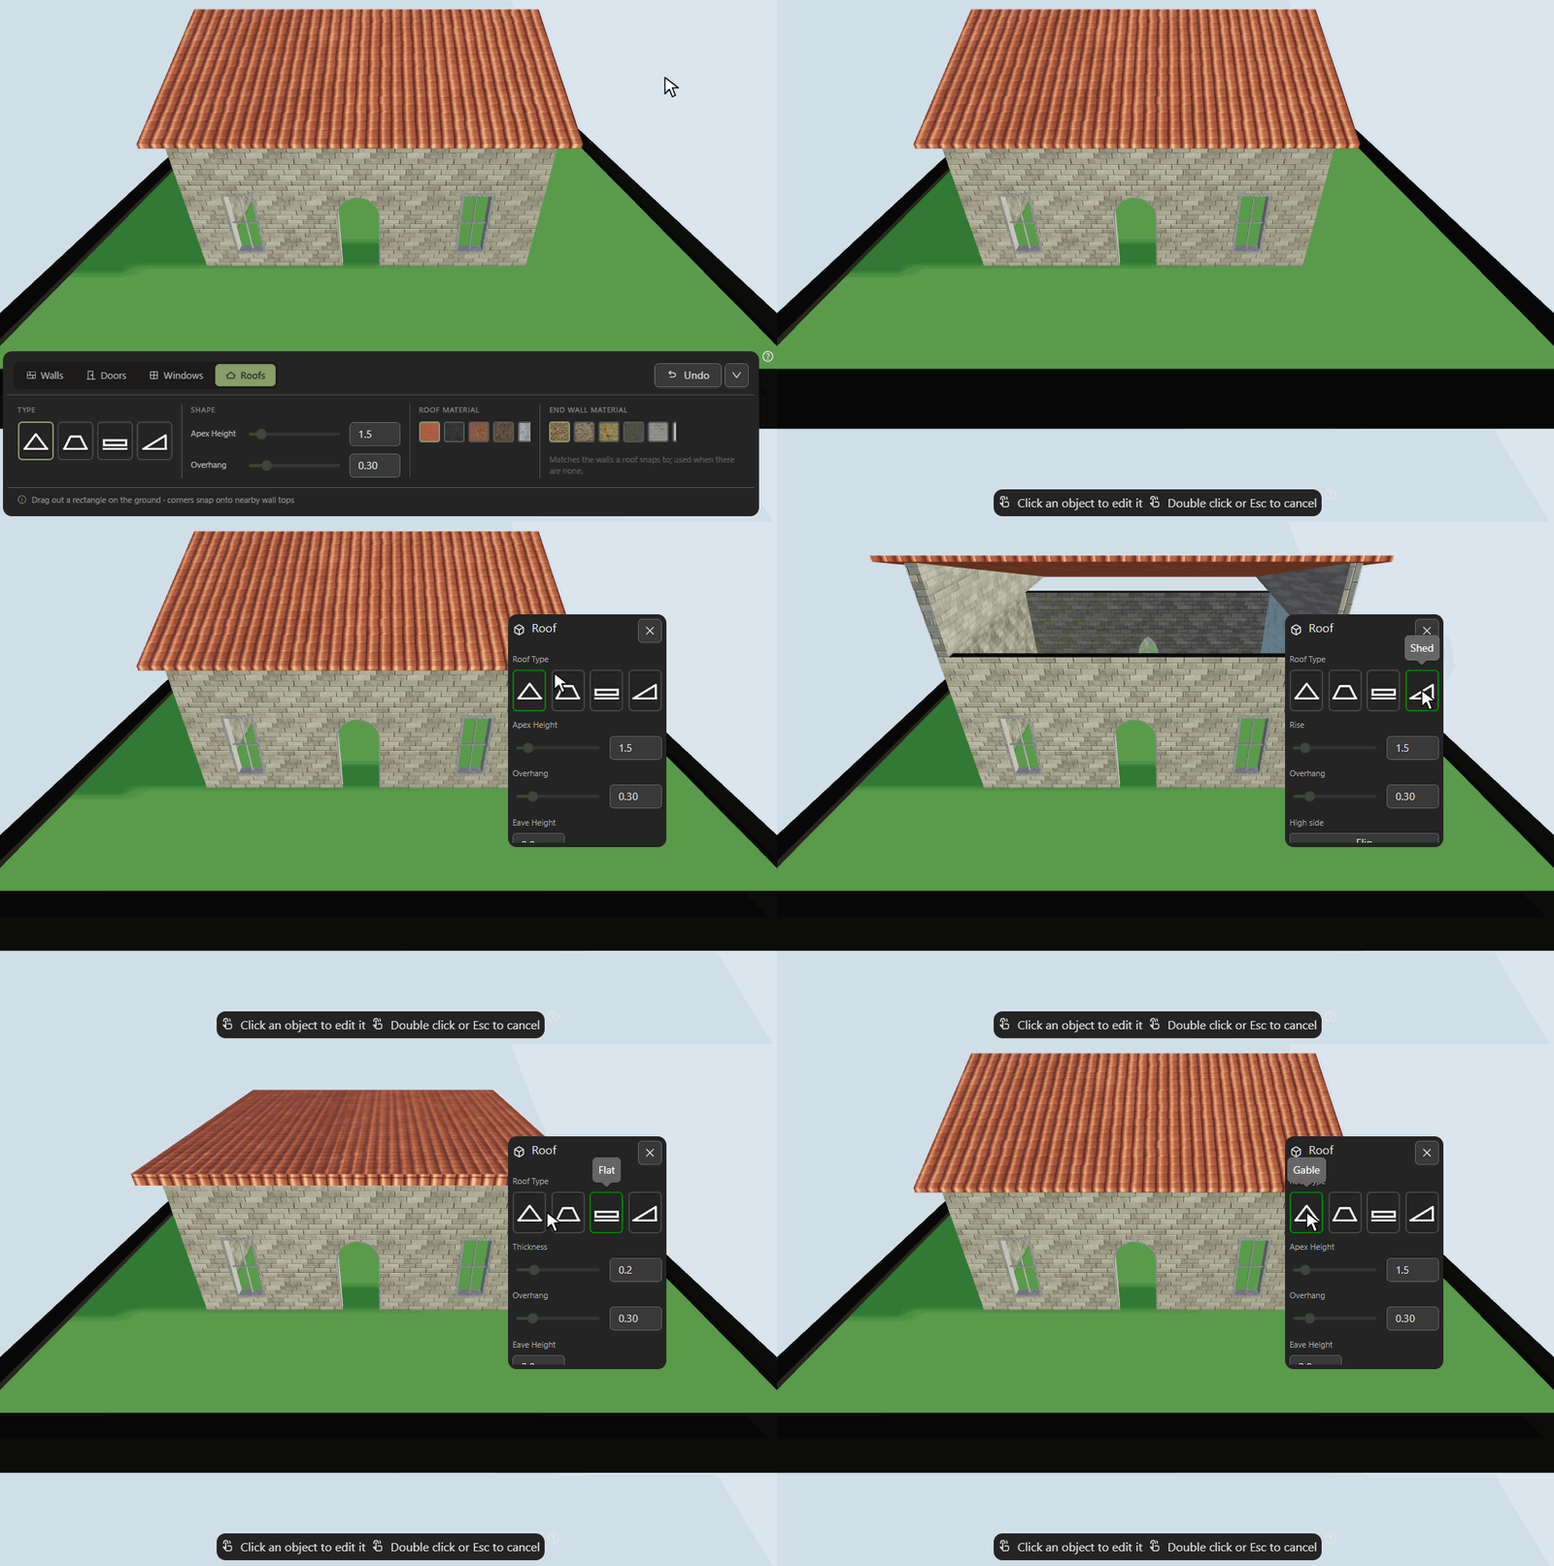
- Gable, Hip, Flat or Shed.
- A shed roof has a Flip button to swap the high side.
Change or delete things
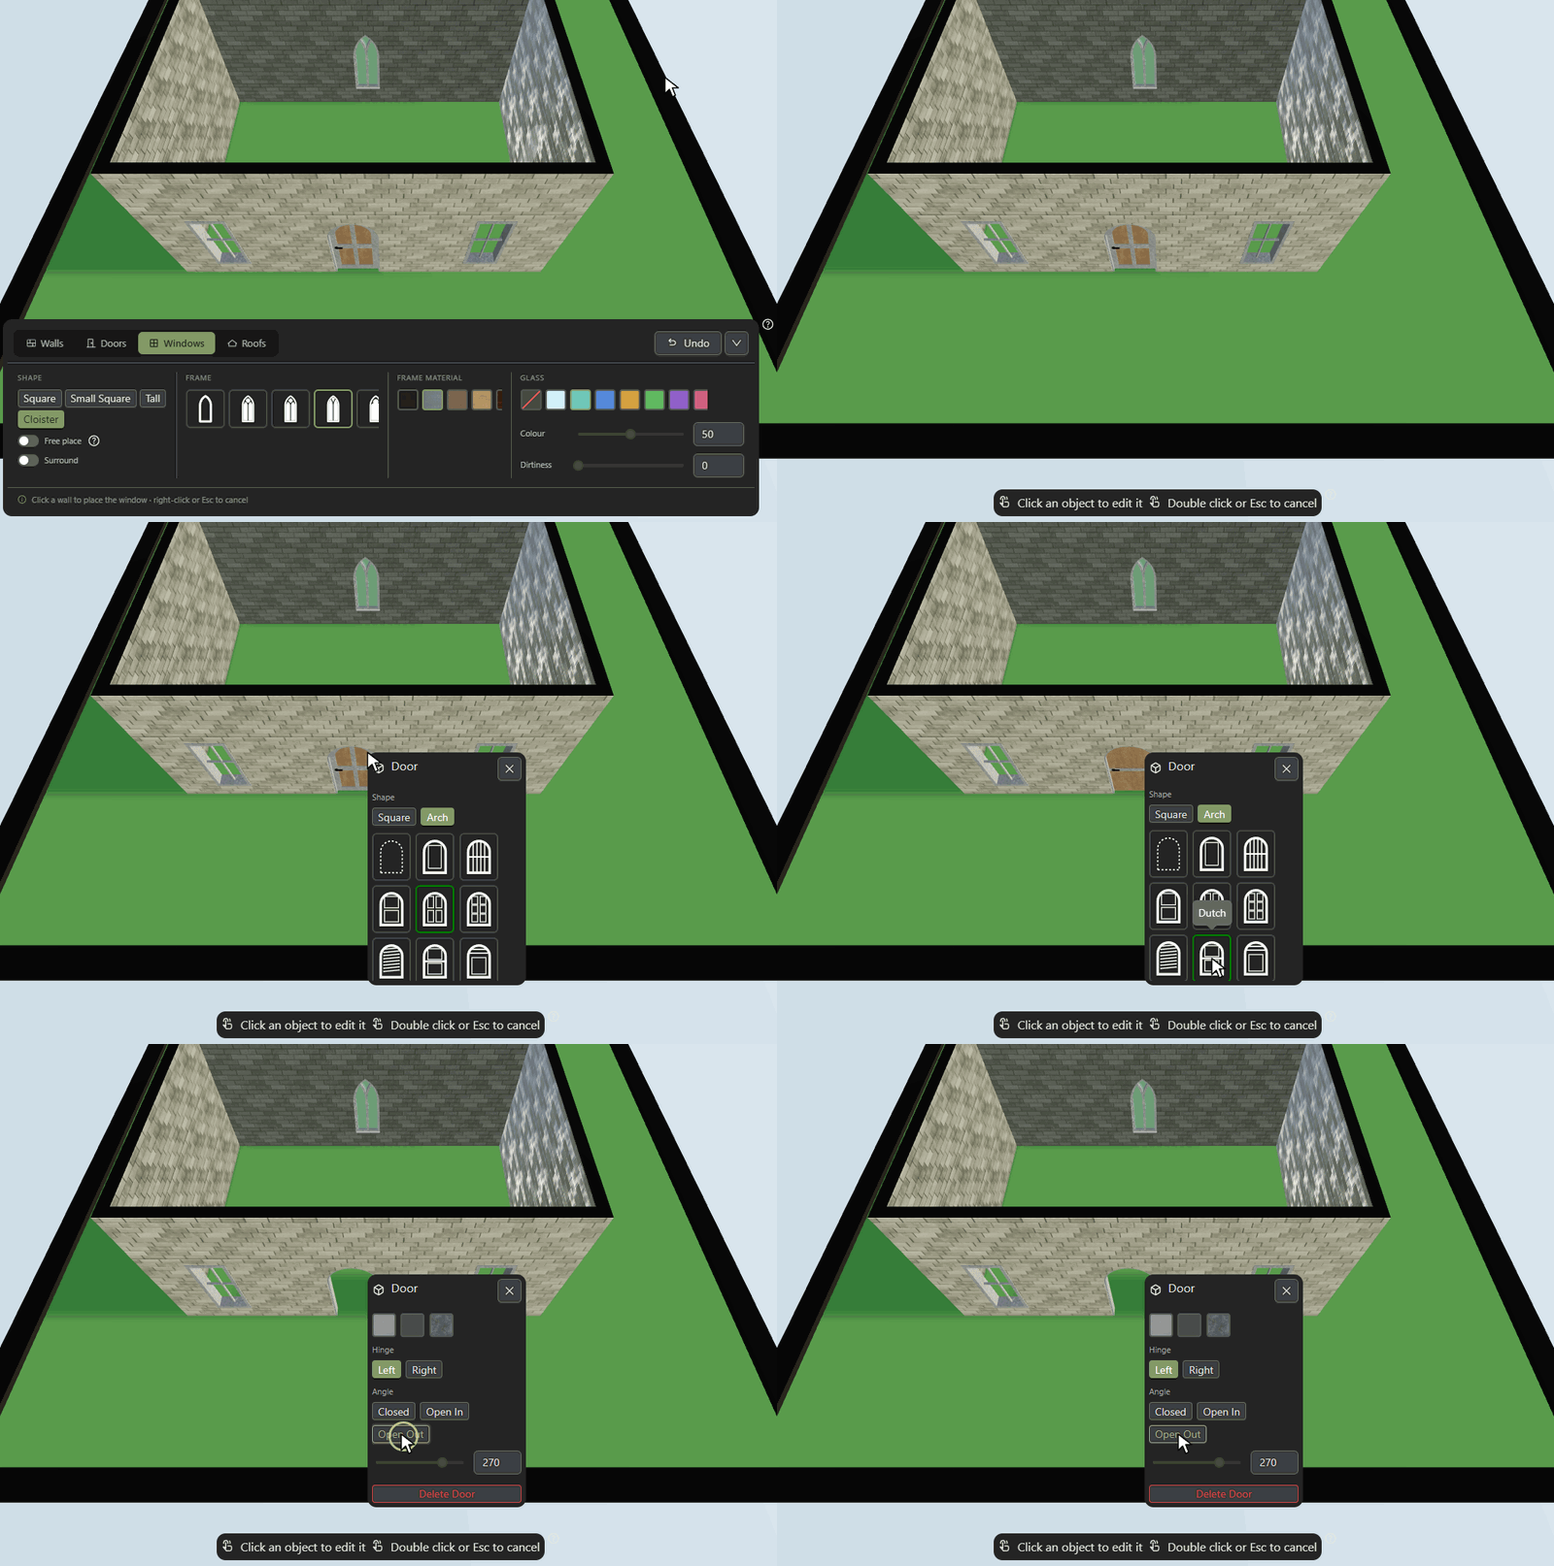
- Click Edit, then click a wall, door, window or roof.
- Changes show straight away.
- Delete is at the bottom of each menu.
- Made a mistake while building? Undo in the Buildings panel, or Ctrl+Z, takes back the last change.
On a phone or tablet
- Double tap, or switch tab, to finish a wall.
- Drag the handle at the top of the panel to resize it, or swipe it down to get it out of the way.
Controls
| Click ground | Drop a wall corner |
|---|---|
| Double click | Finish the wall |
| Right click | Finish the wall, or stop placing doors and windows |
| Esc | Stop placing doors and windows |
| Drag | Draw a roof (in the Roofs tab) |
| Ctrl+Z | Undo, while the Buildings panel is open |
Tips
- Draw a whole building as one wall, back to where you started.
- Doors and windows can't sit right on a corner. Leave some room.
- Add the roof last, after doors and windows.
More guides
Ready to try it? Open the editor.